Sow. Starting seeds indoors is a little different than sowing directly into the ground. Usually, the seed package will tell you how to sow outside. Some packages include instructions for starting inside as well as when to start seeds inside, so you can follow those instructions if applicable. Generally, larger seeds should be placed at least an inch apart. Depending on the size of your tray's cells you may get 2-3 seeds in each. Medium-sized seeds can be a little closer together and small seeds can be about a half inch apart. Small seeds can be tricky to handle. You can sprinkle them using your fingers, or you can use a spoon or even tweezers to place the seeds.

Some seeds need direct light exposure for germination, and some can be covered with your seed starting mix. Some even want covering with black plastic. Your seed packet should tell you the specific requirements for your seeds. Don't forget to label the trays with what type of seeds you have planted.
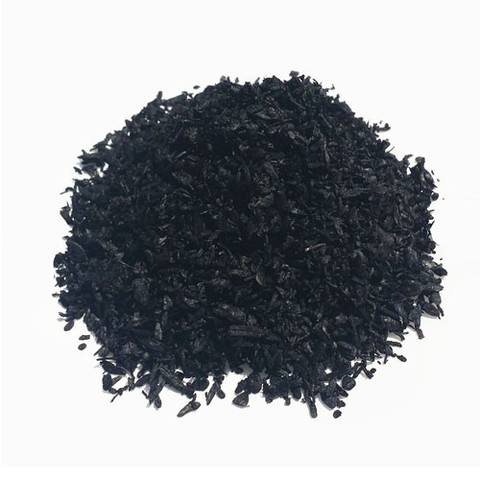
Heat. Your seeds need heat to germinate. Put them in a warm place – the top of a fridge is warm enough to get them sprouting. You can start them in trays using plugs or our seed starting soil. You can also use heat mats specially made for seedlings. Keep the soil damp but not soaked.
Light. Your seedlings will emerge in 1-4 weeks, and they’ll need light right away when they do. Put the seedlings in the brightest window in your home. Or better yet put them under a small grow lamp.
Thin. Plants aren’t good at sharing their space. A few days after your seedlings emerge, trim back all but the strongest plant in each cell in the tray. That seedling is going to need all the soil, space, and nutrients in its cell.
Fertilize. After a couple weeks your seedlings will run out of food. They’re young, so they don’t need much yet. Water them with a good, general purpose fertilizer mixed at half strength. We can provide recommendations in our store.
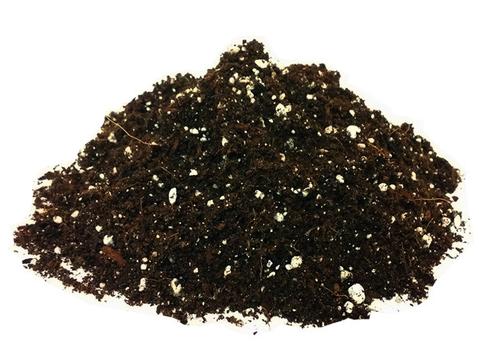
Transplant. After about a month, your plants will need more room to grow. To check if they’re ready to transplant, gently ease the seedling out of its cell. It’s ready to go if you can see roots growing around the edges of the cell. Select a larger pot with drainage holes at the bottom, fill it with a nice quality potting soil, make a hole big enough for your seedling, ease the plant back out of its cell – soil and all – and plant it in the new pot. Fill potting soil around the seedling. Water the new pot thoroughly until water drips out the bottom. Make sure they have light, water, and fertilizer.
Transition. After the weather warms up enough, you may want to move your plants outside. You can move them out in their pot to grow or transplant again right into the ground. Either way, make the transition gradual. The new environment can shock plants, so take them outside a few hours at a time for a week or so, gradually increasing how long they’re outside.
Let ’em grow. Make sure the soil doesn’t completely dry out and fertilize them regularly. You should be able to harvest leaves from your herbs all summer long. Pinch off any flower buds that appear to encourage more leafy growth.
We carry a full line of seed starting equipment and soils, plus organic seeds specially-customized for the Northeast. Stop in today.